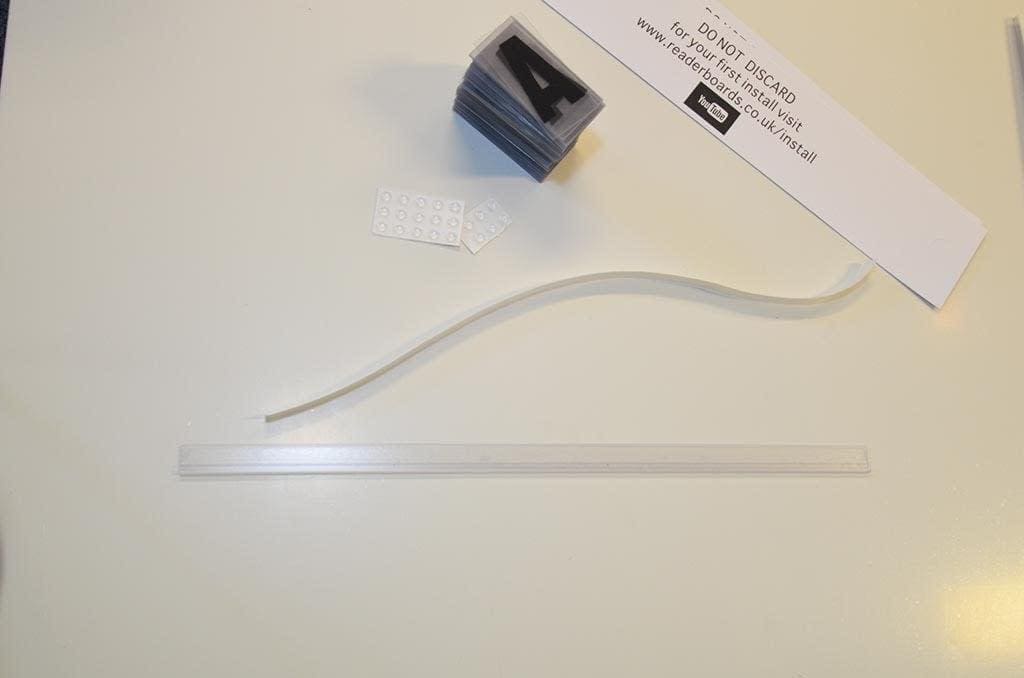
Firsly, your new letter and tracks will be up and running very quickly, but first have a careful read through this page to ensure all the correct procedures are followed. Your pack should include the following
Installing Just Letters and Track.
So your brand new replaceable letters and tracks have arrive but what next? Please have a careful read through to ensure you get the very best out of your changeable sign system.
DUE TO THE HUGE DIVERSITY OF SURFACE PROPERTIES WE ARE UNABLE TO GIVE A CAST IRON GUARANTEE THAT THE TRACKING WE STICK TO EVERY SURFACE. IF YOU DO EXPERIENCE PROBLEMS A SUITABLE GLUE / RESIN WILL NEED TO BE USED.
- Correct amount of letter tile packs
- Correct amount of adhesive tracking
- Letter Stoppers
- Cardboard templates
Please note all tracking in most cases is identical. If this isn’t the case please contact us to resolve the situation on 0800 9 545 014.
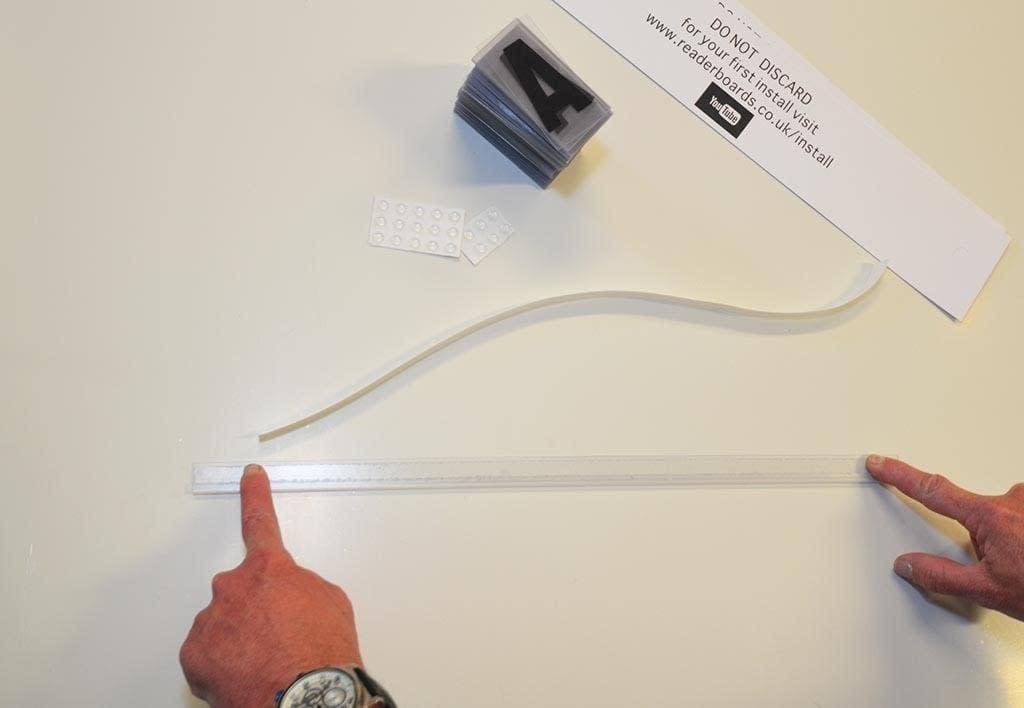
Next lay all the track out and clean the surface of the wall you intend to apply the tracks to, ensuring the surface is dry and free from dust and dirt.
Now simply follow the next 5 steps, click on images to help with your installation process. Then its time to get those letter tiles in and have fun!


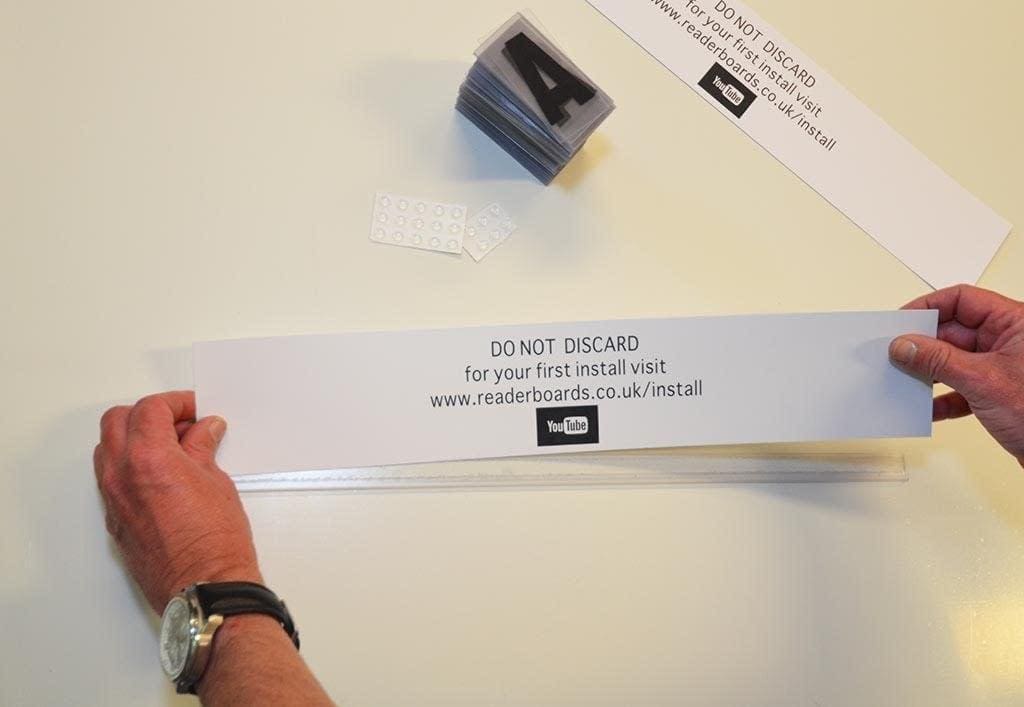
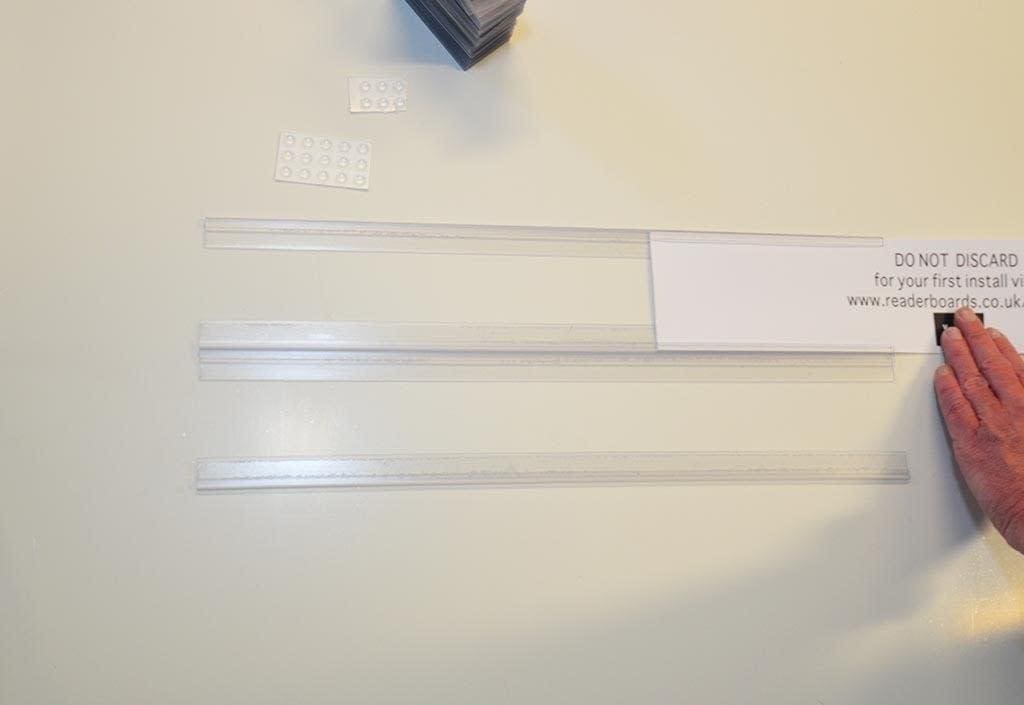
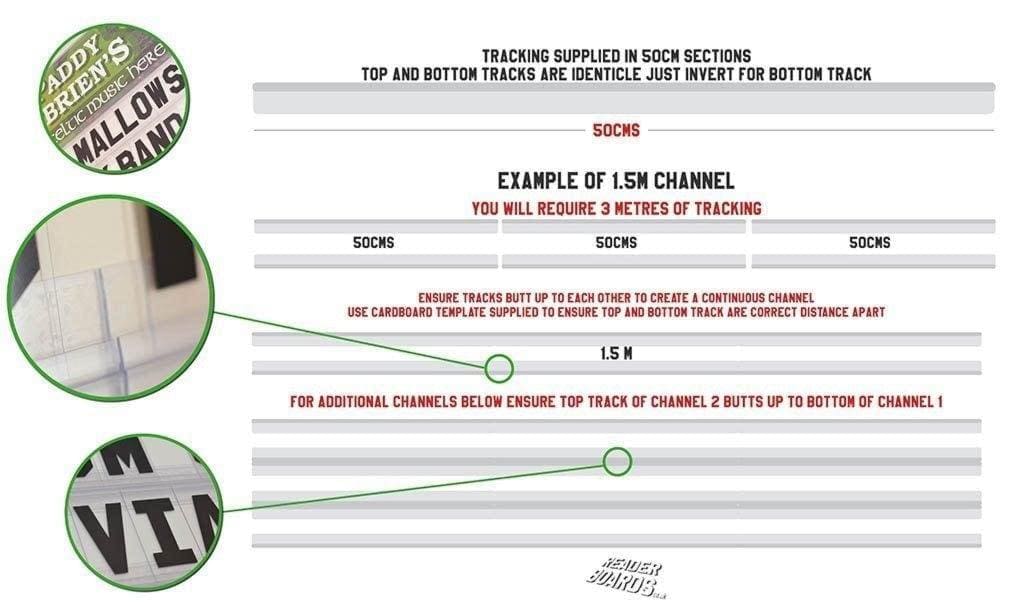
Step 1. Starting from the bottom of the area and working up apply first tracking. This will be the base track for your letters, it’s important to get this totally straight as this is the foundation for all other tracks. If applying more than one track length, butt up as tight as possible the second or third track so no space is showing. Once bottom tracks are in place you will need the cardboard templates to apply the top track.
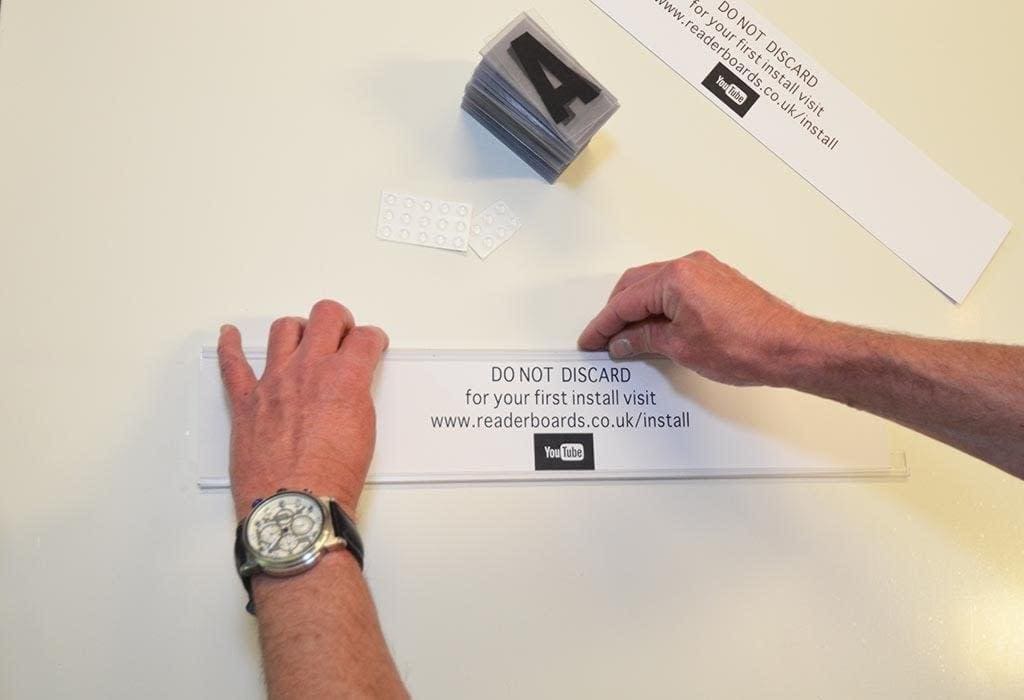
Step 2. Now place the cardboard template into bottom track ensuring it fits into the capacity of the track. Once securely in, now apply top track ensuring a tight fit, but not so tight as for the cardboard template to bend. If this is the case you will require to increase the space slightly.
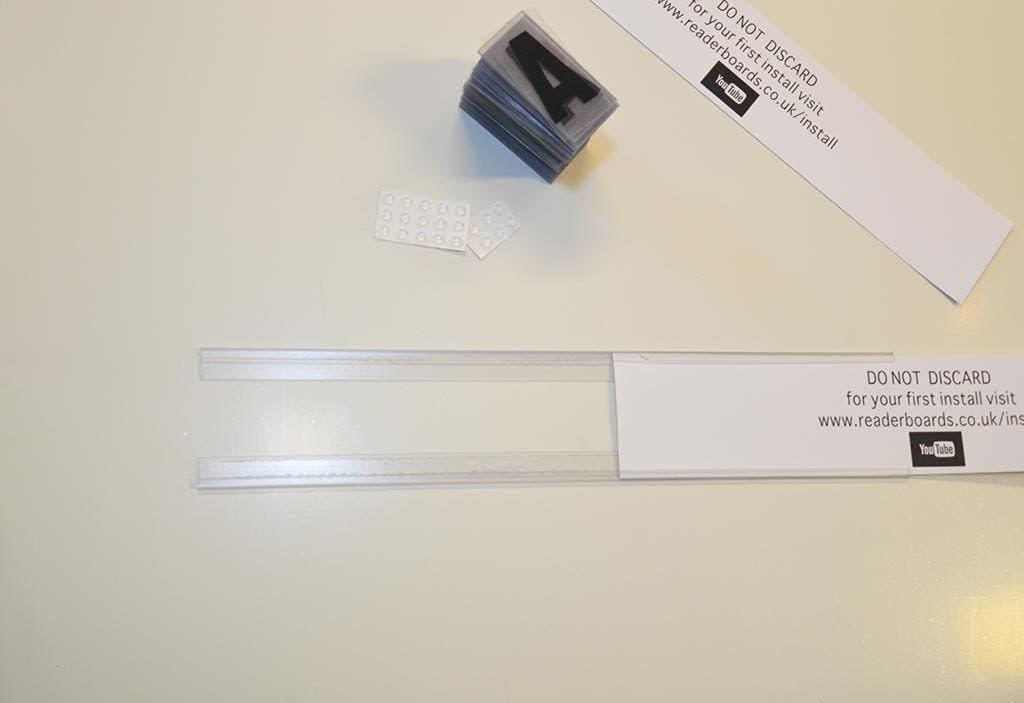
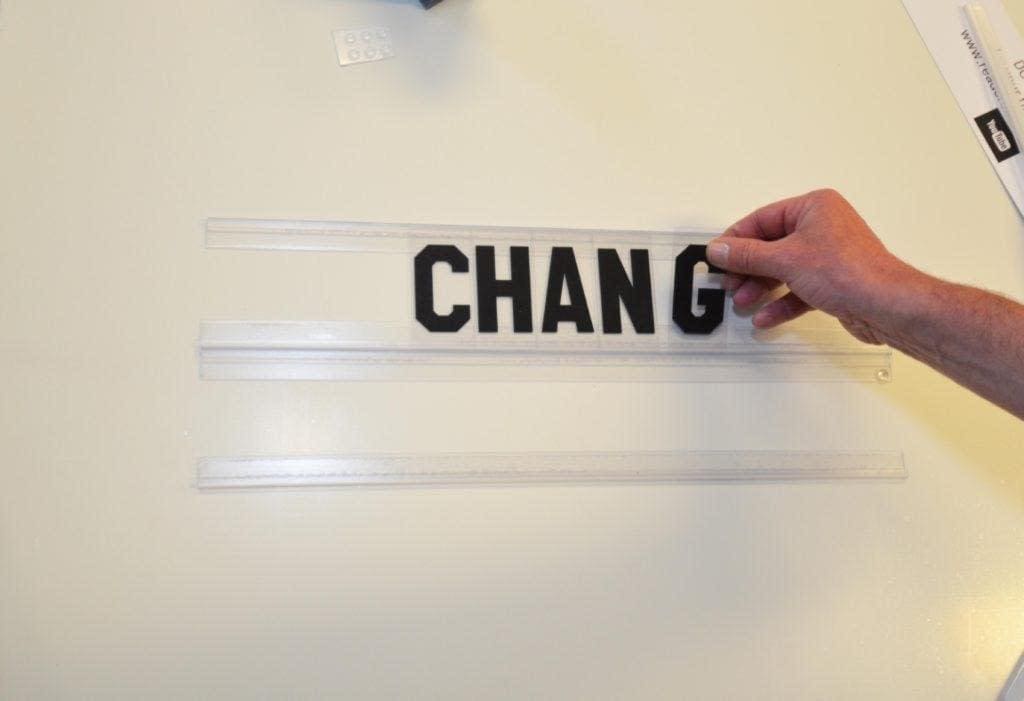
Step 3. Once happy with the correct spacing, slide out the cardboard template. Now try a letter ensuring that it moves freely, but also is retained inside tracking.
Step 4. Finally you will need to repeat this process until all track is used up. Always butt up new bottom tracks right up to the top track on the previous channel, ensuring all are parallel.
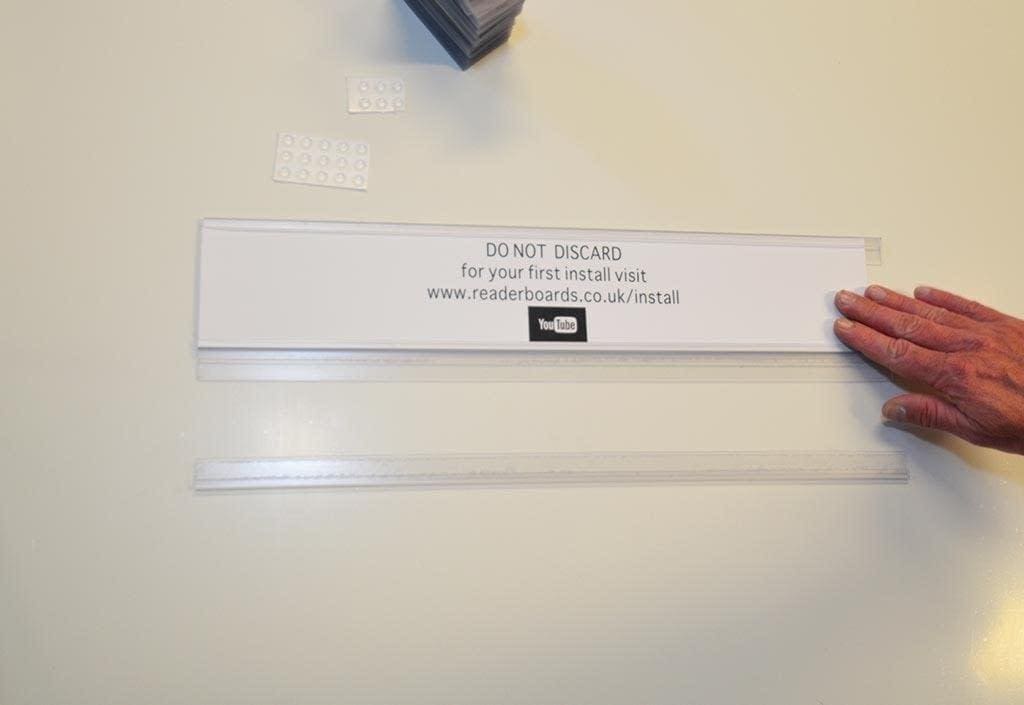
Step 5. Once completed apply letter stoppers at the ends of each track, prevented letters from falling out. Finally rub all tracking firming from left to right, possibly with a blunt object or the edge of a ruler, applying sufficient pressure so as to make the self adhesive track vanish into the surface behind
DO NOT ATTEMPT TO REMOVE THE TRACKING ONCE IN PLACE AS CAN CAUSE DAMAGE TO THE SURFACE OR REMOVE PAINTWORK.
